


How Do I Do the Ultimate Spring Clean?

Now that is a great question, and one that’s taken considerable practicing for me to answer. Spring is well on its way, but your home is still full of clutter and random crap that you have probably forgotten exists. Not to mention the progressing layer of dust on your window sills and ceiling.
Honestly, I really don’t know how dust can just defy gravity. But whatever. It won’t last for long because you’re going to get rid of it. All of it. Even though it sounds like a pretty daunting task, it can really help get the rest of your life in shape. Browse this step-by-step cleaning plan (A.K.A. my house-purge list) and you’ll be well on your way to having a squeaky clean home.
Step 1. Fuel up before you clean up
The most efficient way to do a spring clean is to just do it all in one day. Now yes, that does sound intense, and probably a little bit impossible. But before you pick up the bucket and sponge, eat a nice big plate of breakfast. It’ll give you all the energy you need to get rid of those pesky spider webs. And make sure you’ve planned lunchtime into your cleaning schedule, too, otherwise, the whole day could get messed up by impromptu snack sessions.
On a practical note, it helps to prep your lunch before you start: you’ll avoid having to make it later and messing up the beautiful, sparkling kitchen that you just slaved over.

Step 2. Set a timer
It’s way too easy to lose track of time when you’re in the zone, so make sure you set a timer for each room. Breaking up your chores into bite-size chunks also helps mentally, especially if you split your time up into digestible goals. Make sure to set realistic times though. There’s no need to stress yourself out.

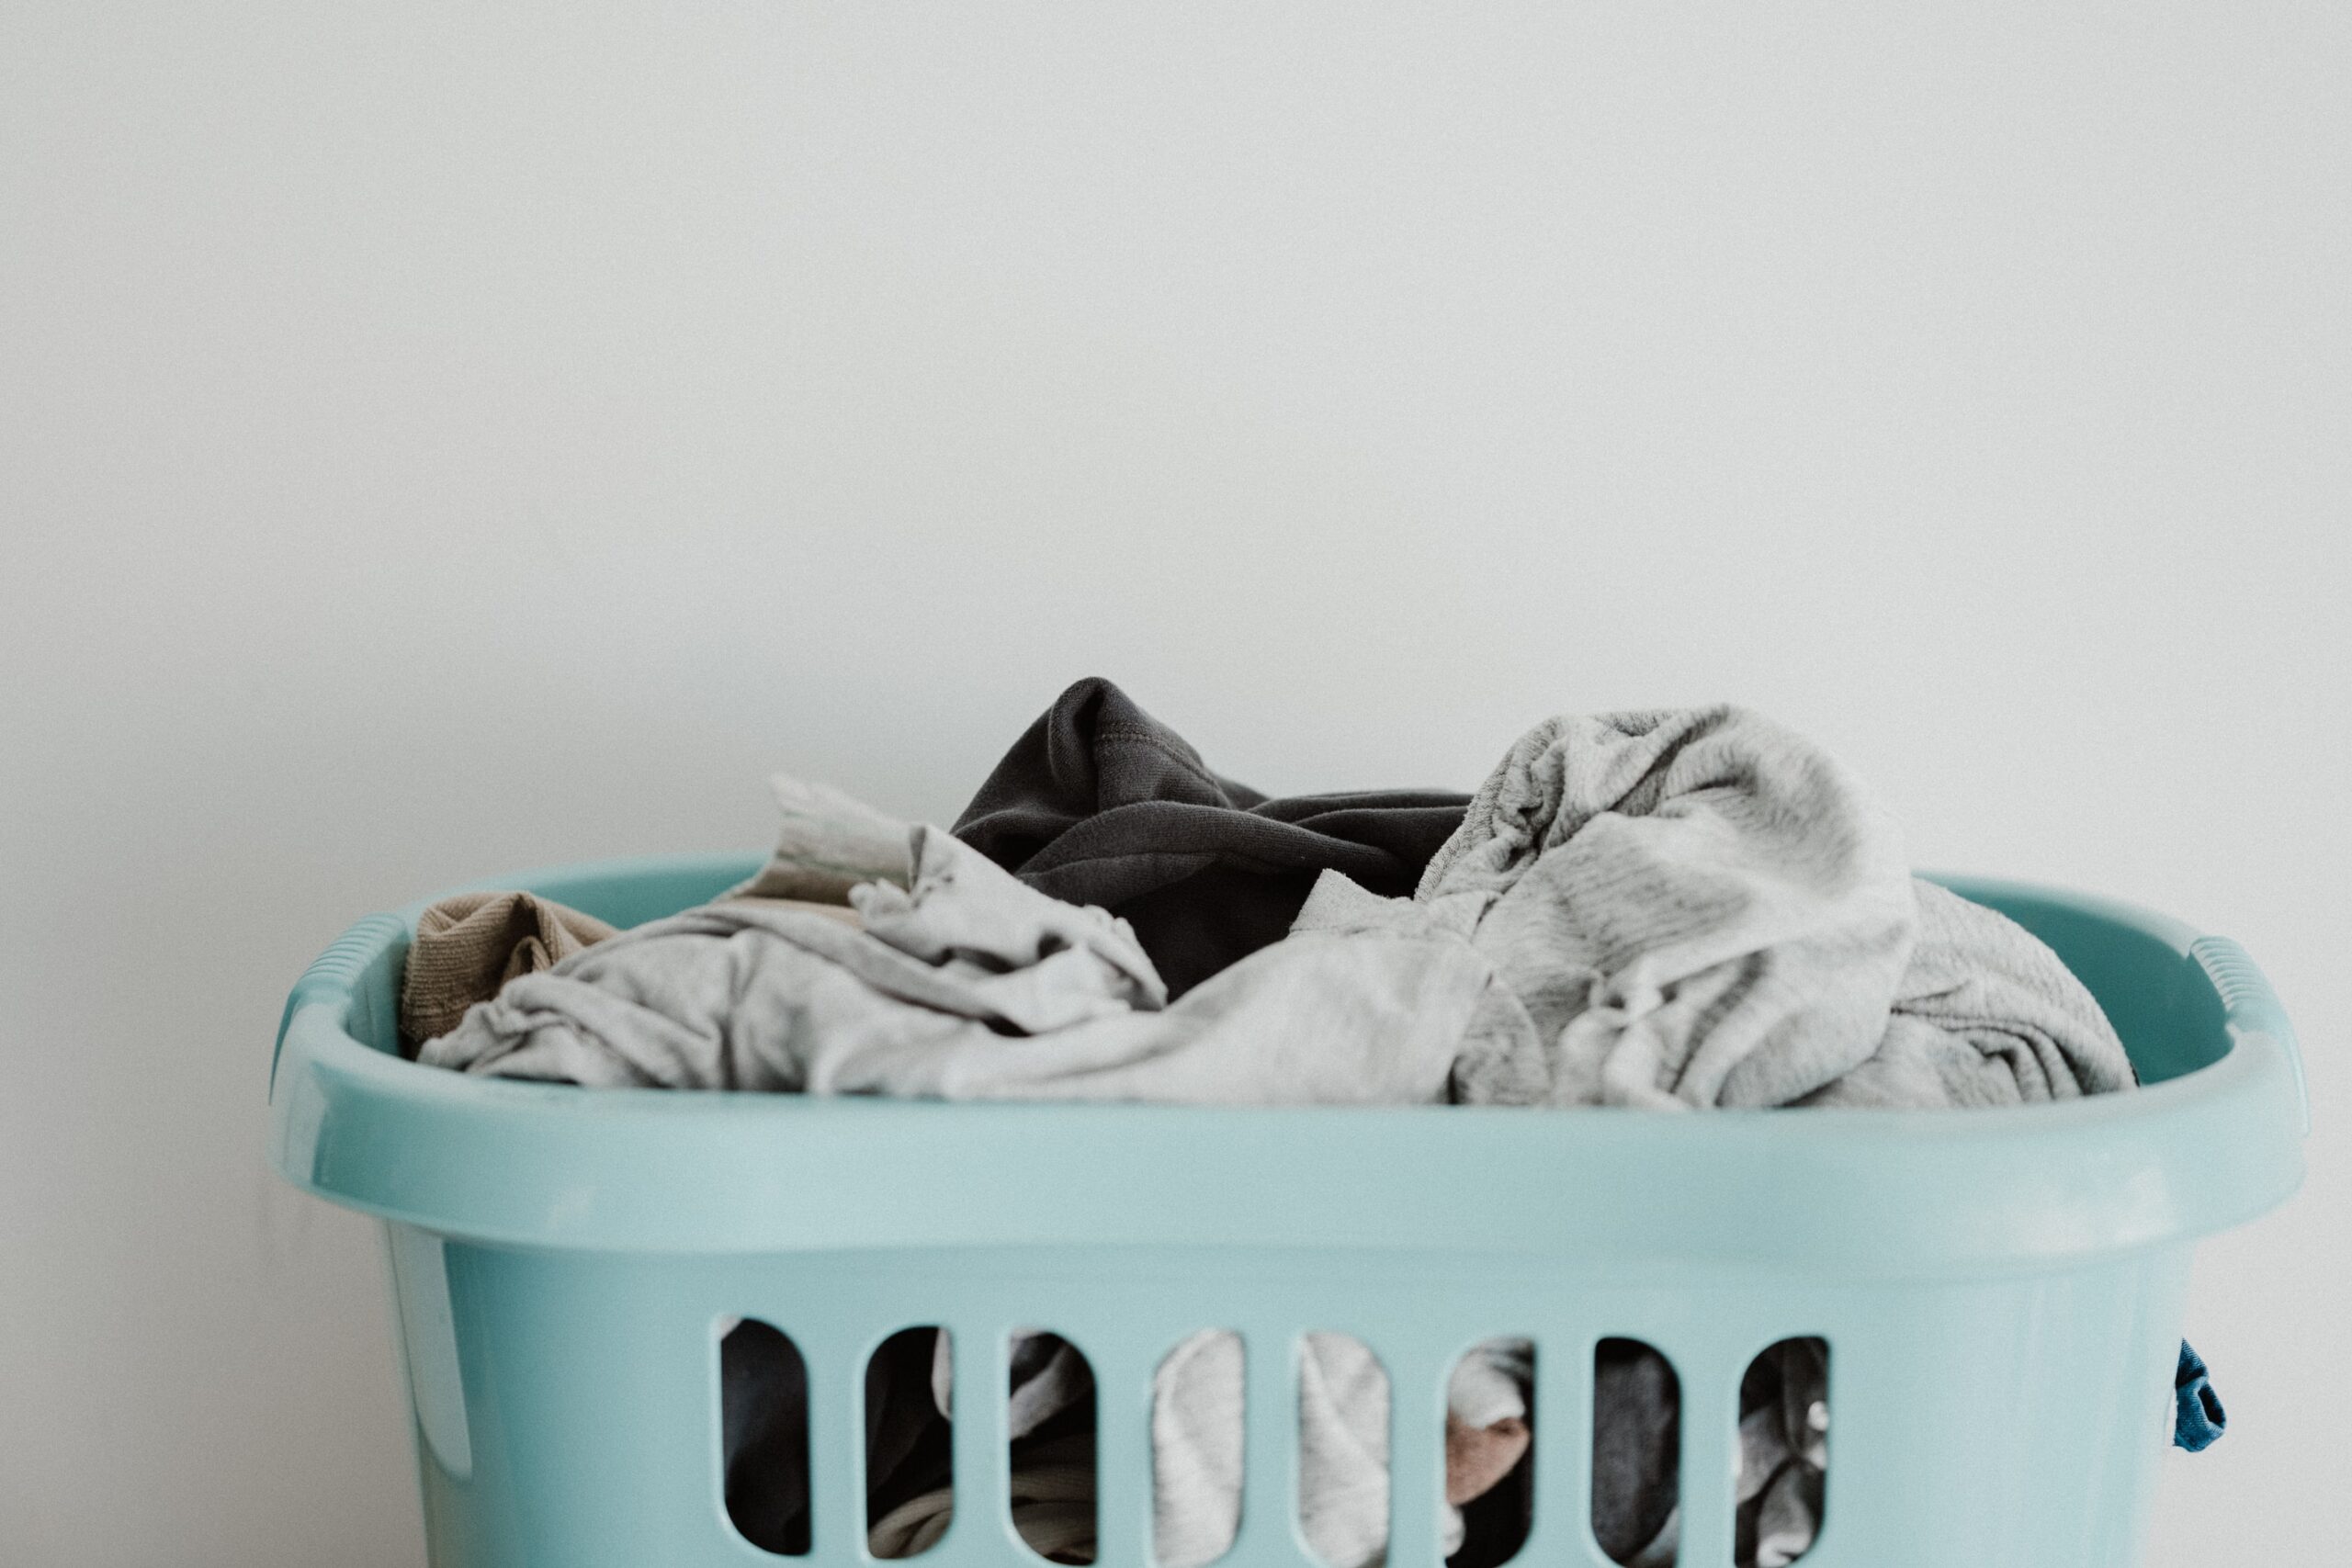
Step 3. Start with the laundry
The key to a good spring clean is efficient multitasking. Put all your bedsheets, rugs, and pillowcases into the washer to clean whilst you’re working on something else. You’ll be so satisfied when they’re ready to dry, the second you’re done in the bedroom. Plus, if you have a tumble dryer, throw your washing in at around lunchtime. You can enjoy your break, and be ready to redress the beds and sofas when you’re done.
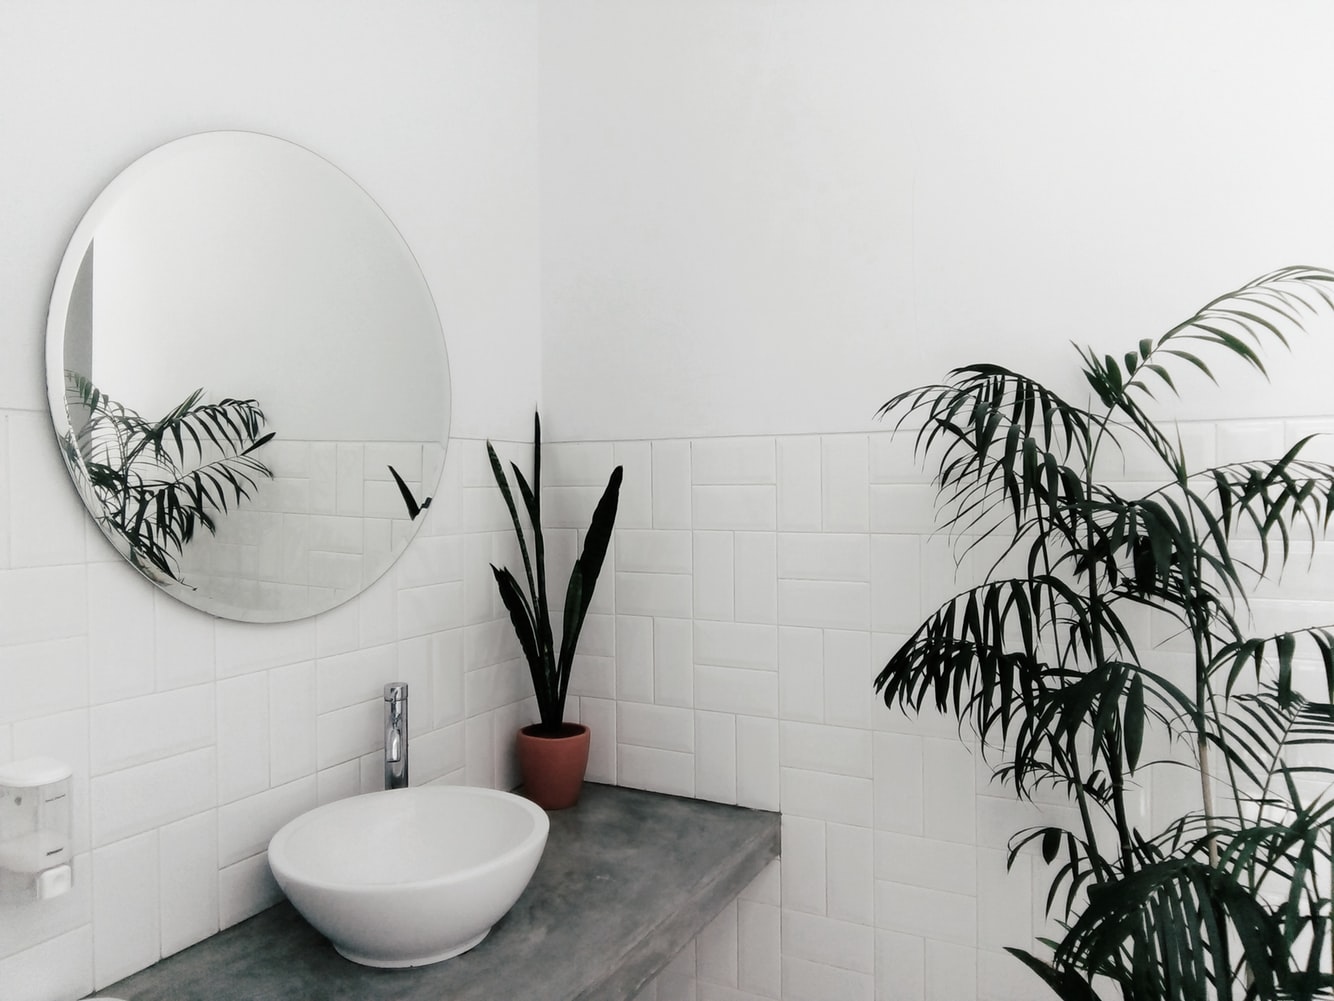
Step 4. The bathroom
Most people see the bathroom as the worst room to clean, so I insist that it is the first room you tackle. Once it’s crossed off the list, you’ll feel ready to conquer the world… or the rest of your house, at least. Some tips:
- Mix up a paste using baking soda and water. Use this to cover your toilet seat and rim, as well as your bath. This is the perfect mixture to attack annoying grime.
- Attach a half-filled bag of vinegar to your shower head. This will clean off all the little water marks and deposits.
- Wipe mirrors with a microfiber cloth. No solutions are needed.
- Finally, rinse everything off with warm water.
Step 5. The bedroom
Be warned: the bedroom is a dangerous place to clean, especially if you’re tired. Doing the bedroom in the morning will minimize the risk of taking a nap, as you’ll still be full of energy (hopefully). This room should be a breeze, as all the sheets should be in the wash. Just make sure you work from top to bottom, so that dirt from the ceiling won’t drop onto the newly cleaned floor.
- To freshen up your mattress, sprinkle some baking soda all over it (yes, this stuff is your new best friend, so stock up). It will balance the pH levels of your bed and neutralize smells.
- Leave the baking soda to chill out on the mattress for a couple of hours, before coming back and vacuuming the remainder away.

Step 6. The living room
The workload for this room varies depending on the type of space it is. Regardless, the same rules always apply:
- Use a lint roller to pick up fur, fluff, and dust from soft furnishings (it’s a bit easier than attacking your couch with the vacuum cleaner, trust me).
- Microfiber cloths are perfect for wiping fingerprints off anything from windows to lamps. Add a few drops of vinegar to clean up a battered baseboard, then follow with a dry sheet.
- Q-tips are great for getting into annoying little crevices like the corners of window seats and radiators.
- Swap the vinegar for coconut oil. Dab some on a cloth to polish wooden surfaces. They will be as good as new.

Step 7. The dining room
More often than not, the dining room is a space that is saved for special occasions. As such, it stays tidier than most other rooms. But this doesn’t mean that it’s not in need of some TLC, too. To get your dining room spick and span:
- Scrub the underside of the seats as well as the tops and frames. The same goes for the table.
- Switch up your winter table dressings for some fresh spring ones. You’ll immediately bring the room back to life, ready for your next dinner party.

Step 8. The Kitchen
In my view, this room is as scary to clean as the bathroom. It’s so full of nooks and crannies, and is pretty much the most used room in the house. So let’s break the process up into two manageable sections:
- Cupboards and cabinets
- We tend to forget that doors, shelves, and drawers get dirty. They’re always hidden under all manner of food and utensils, but make sure to give them all a good wipe.
- Tackle the fridge and freezer by chucking out all food past its use-by date. Then give the inside a good clean with anti-bacterial wipes. Make it glisten!
- Cooking space
- The oven vents are the worst. They get a lot of grime build-up, so soak your range hood in hot water and a ¼ cup of baking soda before rinsing.
- For the stovetop, rub a half lemon dipped in (yep, you guessed it) baking soda for a chemical-free cleanse.

Step 9. The fun part
This is basically the reward for a day’s hard work. Go back to your wardrobe and switch all the wintry clothes for the lighter ones. Swap out the heavy coats and LED Christmas sweaters for thinner jackets and layerable items. And welcome to spring.

Shop This Post


